Running XBMC 11 on Mac Mini Late 2006
In the previous post, I installed Debian 7 on a pretty old Mac Mini. Now I decided to install XBMC on it so it can be a Media Center in an extra room.
Ensuring Video is Configured
The Mac Mini has an Intel Corporation Mobile 945GM/GMS video card, nothing special but should handle most videos up to 1080p. By default the i915 kernel video driver picks up that card and nothing special has to be configure to use it:
root@deb:~# lspci -k | grep -i vga -A 2
00:02.0 VGA compatible controller: Intel Corporation Mobile 945GM/GMS, 943/940GML Express Integrated Graphics Controller (rev 03)
	Subsystem: Intel Corporation Device 7270
	Kernel driver in use: i915
The only thing we need is to get the right Xorg driver for it. Looking over the Debian HCL, I saw the following:
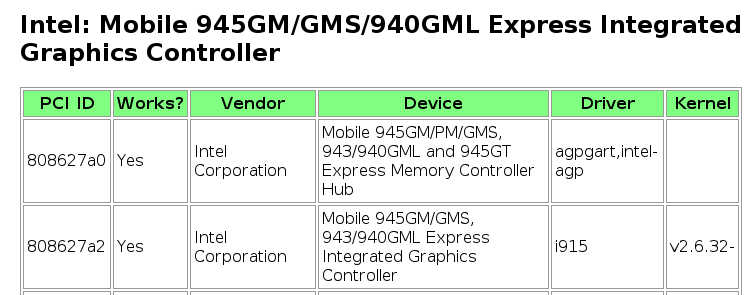
Checking the PCI ID of the device I saw the following:
root@deb:~# lspci -nn -s 00:02.0
00:02.0 VGA compatible controller [0300]: Intel Corporation Mobile 945GM/GMS, 943/940GML Express Integrated Graphics Controller [8086:27a2] (rev 03)
We can see the PCI ID matches. Searching the aptitude repos here is the video driver that matched our driver:
root@deb:~# apt-cache search i915
xserver-xorg-video-intel - X.Org X server -- Intel i8xx, i9xx display driver
xserver-xorg-video-intel-dbg - X.Org X server -- Intel i8xx, i9xx display driver (debug symbols)
Don’t really need the debug driver, but the regular one will be good. I just ran the following to install the video driver:
root@deb:~# apt-get install xserver-xorg-video-intel
Setting up Xorg
The Xorg setup is configure in this Debian page. First we install the main package:
root@deb:~# apt-get install xserver-xorg xinit
Then create a minimal configuration:
root@deb:~# Xorg -configure
That will create a file under the home directory of the root user. Lastly let’s copy the configuration into the system:
root@deb:~# cp /root/xorg.conf.new /etc/X11/xorg.conf
At this point you can test by running startx.
Installing XBMC
The XBMC version in the Debian repositories is a little old:
root@deb:~# apt-cache showpkg xbmc | grep ^Versions -A 1
Versions:
2:11.0~git20120510.82388d5-1 (/var/lib/apt/lists/ftp.us.debian.org_debian_dists_wheezy_main_binary-i386_Packages) (/var/lib/dpkg/status)
It looks like it’s XBMC 11, there are experimental repositories out there that provide XBMC 13, but they don’t seem that stable, I have used XBMC 11 and it actually covers my needs (to play movies over UPNP, no extra plugins necessary). The install was pretty easy:
root@deb:~# apt-get install xbmc xbmc-standalone
After that we can create an init script to auto-launch XBMC without any Window Manager. The setup is covered in HOW-TO:Autostart XBMC for Linux. Here is the init script I ended up using:
root@deb:~# cat /etc/init.d/xbmc
#! /bin/sh

### BEGIN INIT INFO
# Provides:          xbmc
# Required-Start:    $all
# Required-Stop:     $all
# Default-Start:     2 3 4 5
# Default-Stop:      0 1 6
# Short-Description: starts instance of XBMC
# Description:       starts instance of XBMC using start-stop-daemon and xinit
### END INIT INFO

############### EDIT ME ##################

# path to xinit exec
DAEMON=/usr/bin/xinit

# startup args
DAEMON_OPTS="/usr/bin/xbmc-standalone -- :0"

# script name
NAME=xbmc

# app name
DESC=XBMC

# user
RUN_AS=root

# Path of the PID file
PID_FILE=/var/run/xbmc.pid

############### END EDIT ME ##################

test -x $DAEMON || exit 0

set -e

case "$1" in
  start)
		echo "Starting $DESC"
		start-stop-daemon --start -c $RUN_AS --background --pidfile $PID_FILE  --make-pidfile --exec $DAEMON -- $DAEMON_OPTS
		;;
  stop)
		echo "Stopping $DESC"
		start-stop-daemon --stop --pidfile $PID_FILE
		;;

  restart|force-reload)
		echo "Restarting $DESC"
		start-stop-daemon --stop --pidfile $PID_FILE
		sleep 5
		start-stop-daemon --start -c $RUN_AS --background --pidfile $PID_FILE  --make-pidfile --exec $DAEMON -- $DAEMON_OPTS
		;;
  *)
		N=/etc/init.d/$NAME
		echo "Usage: $N {start|stop|restart|force-reload}" >&2
		exit 1
		;;
esac

exit 0
Lastly to allow X to run from non-consoles I needed to run
root@deb:~# dpkg-reconfigure x11-common
And to choose “Anyone”:
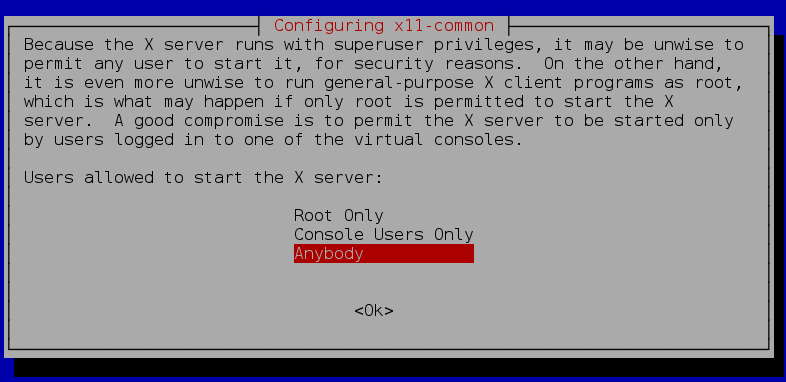
After that we can enable the service to start on boot:
root@deb:~# update-rc.d xbmc defaults
and we can either reboot or just start the service right away:
root@deb:~# service xbmc start
Either way XBMC will start up.
Configure Audio
The kernel driver already picked up the device for that as well:
root@deb:~# lspci -k | grep -i audio -A 1
00:1b.0 Audio device: Intel Corporation NM10/ICH7 Family High Definition Audio Controller (rev 02)
	Subsystem: SigmaTel STAC9221 HD Audio Codec
	Kernel driver in use: snd_hda_intel
I just need to install also-utils and un-mute the speaker mixer. To install alsa-utils, I ran the following:
root@deb:~# apt-get install alsa-utils
Then I ran alsamixer and scrolled to the speaker mixer and click “m” to un-mute:
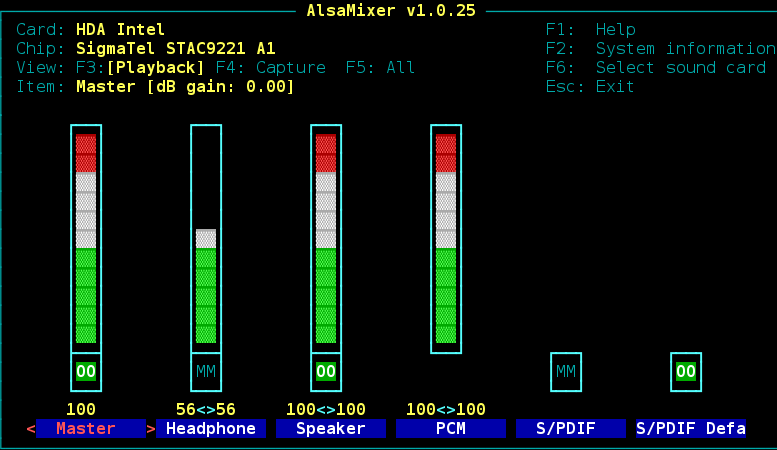
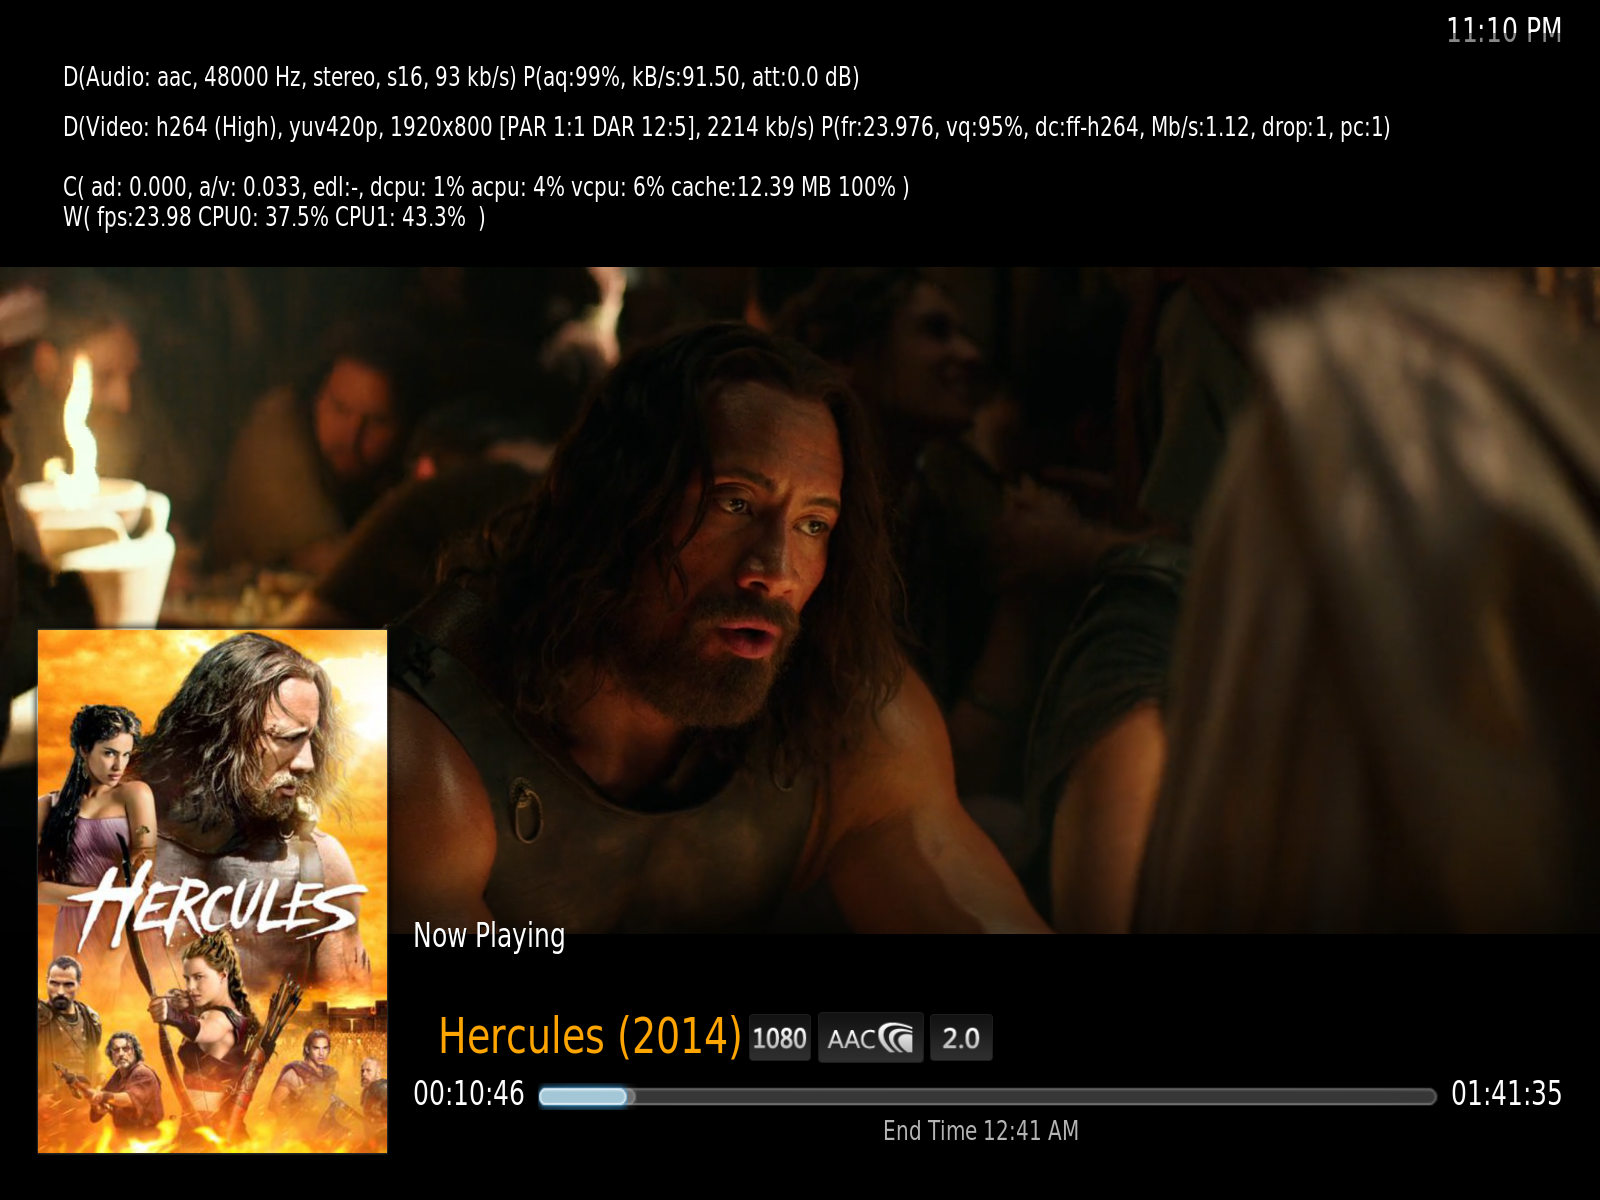
After that I was able to play a video over UPNP with Audio: