Trying out MadSonic
I have been using Subsonic and MusicCabinet for a while and I decided to try out MadSonic. Looking over the comparison page it definitely looks like it has the most features.
Install MadSonic
So let’s get the installer:
┌─[elatov@kerch] - [/home/elatov] - [2015-12-29 04:44:06]
└─[0] <> wget http://madsonic.org/download/6.0/20151216_madsonic-6.0.7820.rpm
--2015-12-29 16:44:29--  http://madsonic.org/download/6.0/20151216_madsonic-6.0.7820.rpm
There are a couple of important folders and files for subsonic:
- /usr/share/subsonic
- /var/subsonic
- /etc/sysconfig/subsonic
Luckily madsonic creates it’s own separate directories:
┌─[elatov@m2] - [/home/elatov] - [2016-01-01 02:54:08]
└─[0] <> rpm -ql madsonic
/etc/init.d/madsonic
/etc/sysconfig/madsonic
/usr/share/madsonic/madsonic-booter.jar
/usr/share/madsonic/madsonic.sh
/usr/share/madsonic/madsonic.war
/var/madsonic/config/genremap.cfg
/var/madsonic/transcode/ffmpeg
/var/madsonic/transcode/lame
/var/madsonic/transcode/xmp
So we can have them installed at the same time:
┌─[elatov@m2] - [/home/elatov] - [2015-12-29 05:23:42]
└─[0] <> sudo yum localinstall 20151216_madsonic-6.0.7820.rpm
Before starting madsonic let’s stop subsonic:
┌─[elatov@m2] - [/home/elatov] - [2015-12-29 05:24:42]
└─[0] <> sudo systemctl stop subsonic
And finally let’s start madsonic:
┌─[elatov@m2] - [/home/elatov] - [2015-12-29 05:24:42]
└─[0] <> sudo systemctl start madsonic
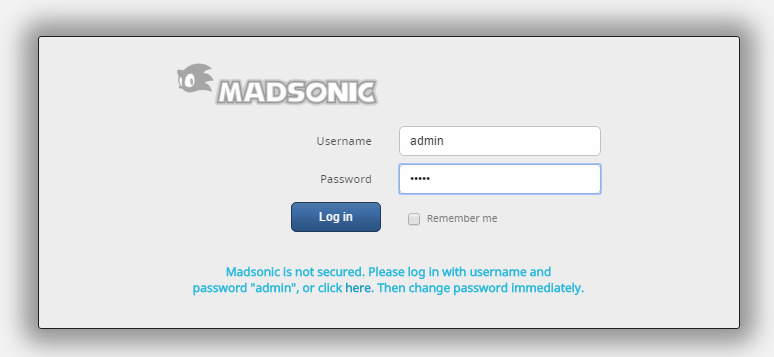
After that you can go to http://<MADSONIC_IP>:4040 and you will see the admin web ui:

After logging into madsonic as:
admin/admin
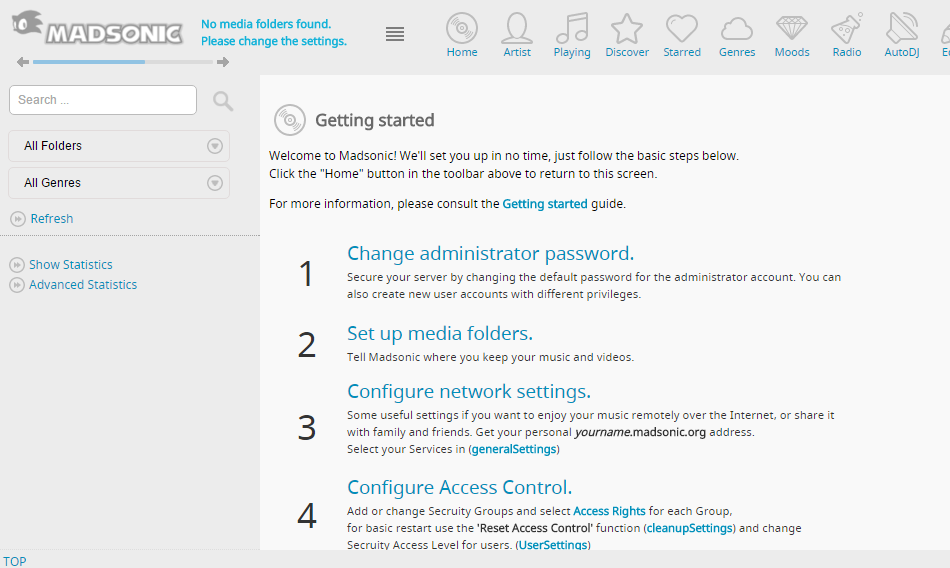
I had initial steps to complete:

Bind MadSonic to a Dedicated IP
I was running madsonic and plex on the same server and for some reason my Smart TV wasn’t able to see madsonic via UPnP. So I decided to bind my madsonic instance to a specific IP.
Create an IP Alias on CentOS 7
To do this first let’s create an IP alias (sometimes reffered to as a virtual inteface) from my main ethernet interface. Let’s copy the configuration:
┌─[elatov@m2] - [/home/elatov] - [2015-12-29 08:05:58]
└─[0] <> sudo cp /etc/sysconfig/network-scripts/ifcfg-ens160 /etc/sysconfig/network-scripts/ifcfg-ens160:1
Next let’s change the IP to be different and remove the MAC Address:
┌─[elatov@m2] - [/home/elatov] - [2015-12-29 08:08:08]
└─[0] <> cat /etc/sysconfig/network-scripts/ifcfg-ens160:1
TYPE=Ethernet
BOOTPROTO=none
IPV6INIT=no
NAME=ens160:1
ONBOOT=yes
IPADDR=192.168.1.103
PREFIX=24
GATEWAY=192.168.1.1
Lastly let’s restart the network service:
┌─[elatov@m2] - [/home/elatov] - [2015-12-29 08:07:35]
└─[0] <> sudo systemctl restart network.service
And now we can see the ethernet alias up (the secondary interface):
┌─[elatov@m2] - [/home/elatov] - [2015-12-29 08:07:49]
└─[0] <> ip -4 a
1: lo: <LOOPBACK,UP,LOWER_UP> mtu 65536 qdisc noqueue state UNKNOWN
    inet 127.0.0.1/8 scope host lo
       valid_lft forever preferred_lft forever
2: ens160: <BROADCAST,MULTICAST,UP,LOWER_UP> mtu 1500 qdisc pfifo_fast state UP qlen 1000
    inet 192.168.1.100/24 brd 192.168.1.255 scope global ens160
       valid_lft forever preferred_lft forever
    inet 192.168.1.103/24 brd 192.168.1.255 scope global secondary ens160:1
       valid_lft forever preferred_lft forever
Configure MadSonic to Bind to the Alias IP
The configuration for binding the madsonic instance to an IP is pretty easy. We just have to specify the –host parameter in the arguements. Here is what I changed:
┌─[elatov@m2] - [/home/elatov] - [2015-12-29 10:04:33]
└─[0] <> grep host /etc/sysconfig/madsonic
MADSONIC_ARGS="--host=192.168.1.103 --init-memory=256 --max-memory=512"
Then restaring the daemon applied the changes:
┌─[elatov@m2] - [/home/elatov] - [2015-12-29 10:06:33]
└─[0] <> sudo systemctl restart madsonic
We can confirm by using the ss utility:
┌─[elatov@m2] - [/home/elatov] - [2016-01-01 03:13:57]
└─[0] <> ss -ltnp | grep 4040
LISTEN     0      50     192.168.1.103:4040     *:*   users (("java",pid=4913,fd=100))
I wanted to do the same thing with Plex but apparently per this forum it’s not possible.
After that I saw all 3 of the DLNA servers via UPnP including the madsonic server:
┌─[elatov@air] - [/home/elatov] - [2015-12-29 09:58:12]
└─[0] <> gssdp-discover -i wlp3s0  --timeout=3 --target=urn:schemas-upnp-org:device:MediaServer:1
Using network interface wlp3s0
Scanning for resources matching urn:schemas-upnp-org:device:MediaServer:1
Showing "available" messages
resource available
  USN:      uuid:1d315878-62e5-cd83-6dcb-320fd356c39c::urn:schemas-upnp-org:device:MediaServer:1
  Location: http://192.168.1.100:32469/DeviceDescription.xml
resource available
  USN:      uuid:9c675b5f-b102-fda7-fec9-c2e51cbeec5c::urn:schemas-upnp-org:device:MediaServer:1
  Location: http://192.168.1.104:80/upnpms/dev
resource available
  USN:      uuid:61314ed0-059b-fd97-ffff-ffffd7babedf::urn:schemas-upnp-org:device:MediaServer:1
  Location: http://192.168.1.103:42553/dev/61314ed0-059b-fd97-ffff-ffffd7babedf/desc
And that’s it. All the clients that I used in the past still worked as before and now I could connect to it with any DNLA Players.