Setting Up and Using AWX with docker-compose
AWX
AWX is the open source version of Ansible Tower. There are good install instructions available at Installing AWX. It basically breaks down into 3 steps:
- Clone the Repo
- Configure the installer
- Install on a container platform (I just used docker-compose)
So let’s try it out.
Configure the AWX installer
So let’s clone the repo:
git clone https://github.com/ansible/awx.git
cd awx
Here are the settings I ended up modifying:
<git:(devel b8cba91✱) > grep -Ev '^#|^$' installer/inventory
localhost ansible_connection=local ansible_python_interpreter="/usr/bin/env python"
[all:vars]
dockerhub_base=ansible
dockerhub_version=latest
awx_secret_key=awxsecret
host_port=82
use_docker_compose=true
docker_compose_dir=/data/docker/awx
pg_hostname=ub.kar.int
pg_username=awx
pg_password=awxpass
pg_database=awx
pg_port=5432
Create a PostGreSQL Database
I already had a running postgresql container running that was used by other containers, so I decided to use that for awx as well. I logged in and created the database and user:
<> createdb -h ub -U postgres awx
Password:
<> createuser -h ub -U postgres awx
Password:
<> psql -h ub -U postgres
Password for user postgres:
psql (10.1)
Type "help" for help.

postgres=# alter user awx with encrypted password 'awxpass';
ALTER ROLE
postgres=# grant all privileges on database awx to awx;
GRANT
postgres-# \q
Now that we have the prereqs done, let’s install it:
Run the AWX installer
My docker host was an ubuntu machine, so I installed the latest ansible version by adding a custom repo and then installing the package:
<> sudo apt-add-repository ppa:ansible/ansible
<> sudo apt install ansible
<> ansible --version
ansible 2.4.2.0
  config file = /etc/ansible/ansible.cfg
  configured module search path = [u'/home/elatov/.ansible/plugins/modules', u'/usr/share/ansible/plugins/modules']
  ansible python module location = /usr/lib/python2.7/dist-packages/ansible
  executable location = /usr/bin/ansible
  python version = 2.7.12 (default, Dec  4 2017, 14:50:18) [GCC 5.4.0 20160609]
Now if we go back to the awx repo we can run the installer:
<git:(devel b8cba91✱) > ansible-playbook -i inventory install.yml

PLAY [Build and deploy AWX] ****************************************************

TASK [check_vars : include_tasks] **********************************************
included: /home/elatov/awx/installer/check_vars/tasks/check_docker.yml for localhost

TASK [check_vars : postgres_data_dir should be defined] ************************
skipping: [localhost]


TASK [local_docker : Set DockerHub Image Paths] ********************************
ok: [localhost]


TASK [local_docker : Set properties without postgres for awx_web] **************
skipping: [localhost]

TASK [local_docker : Activate AWX Task Container] ******************************
skipping: [localhost]

TASK [local_docker : Create /data/docker/awx directory] ************************
ok: [localhost]

TASK [local_docker : Create docker-compose.yml file] ***************************
changed: [localhost]

TASK [local_docker : Start the containers] *************************************
changed: [localhost]

PLAY RECAP *********************************************************************
localhost                  : ok=6    changed=2    unreachable=0    failed=0
Next we can confirm the containers are running:
<> cd /data/docker/awx
<> docker-compose ps
Name             Command             State              Ports
-------------------------------------------------------------------------
awx_memcached_1    docker-            Up                 11211/tcp
                   entrypoint.sh
                   memcached
awx_rabbitmq_1     docker-            Up                 25672/tcp,
                   entrypoint.sh                         4369/tcp,
                   rabbi ...                             5671/tcp,
                                                         5672/tcp
awx_task_1         /tini -- /bin/sh   Up                 8052/tcp
                   -c /usr/b ...
awx_web_1          /tini -- /bin/sh   Up                 0.0.0.0:82->8052
                   -c /usr/b ...                         /tcp
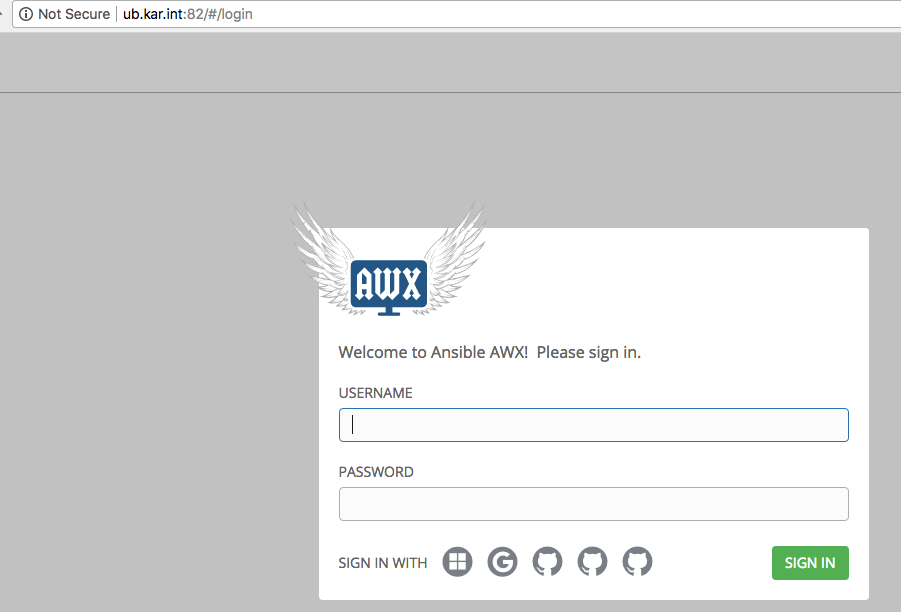
At point you should be able to see the login page (http://DOCKER_HOST:HOST_PORT):
Create a Sample Job to be Executed
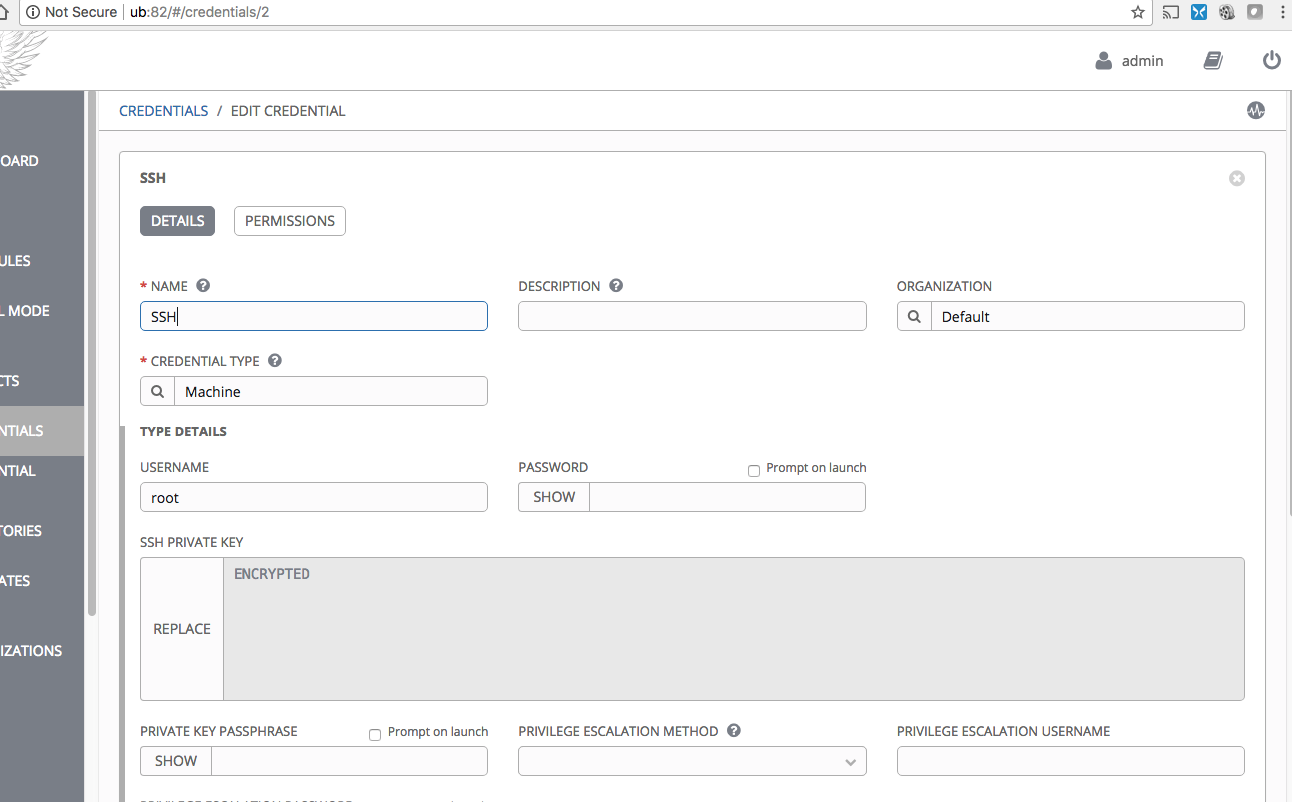
As a quick test, let’s create a template job to be executed. First go to Credentials and add your SSH key which will be used to login to the hosts:
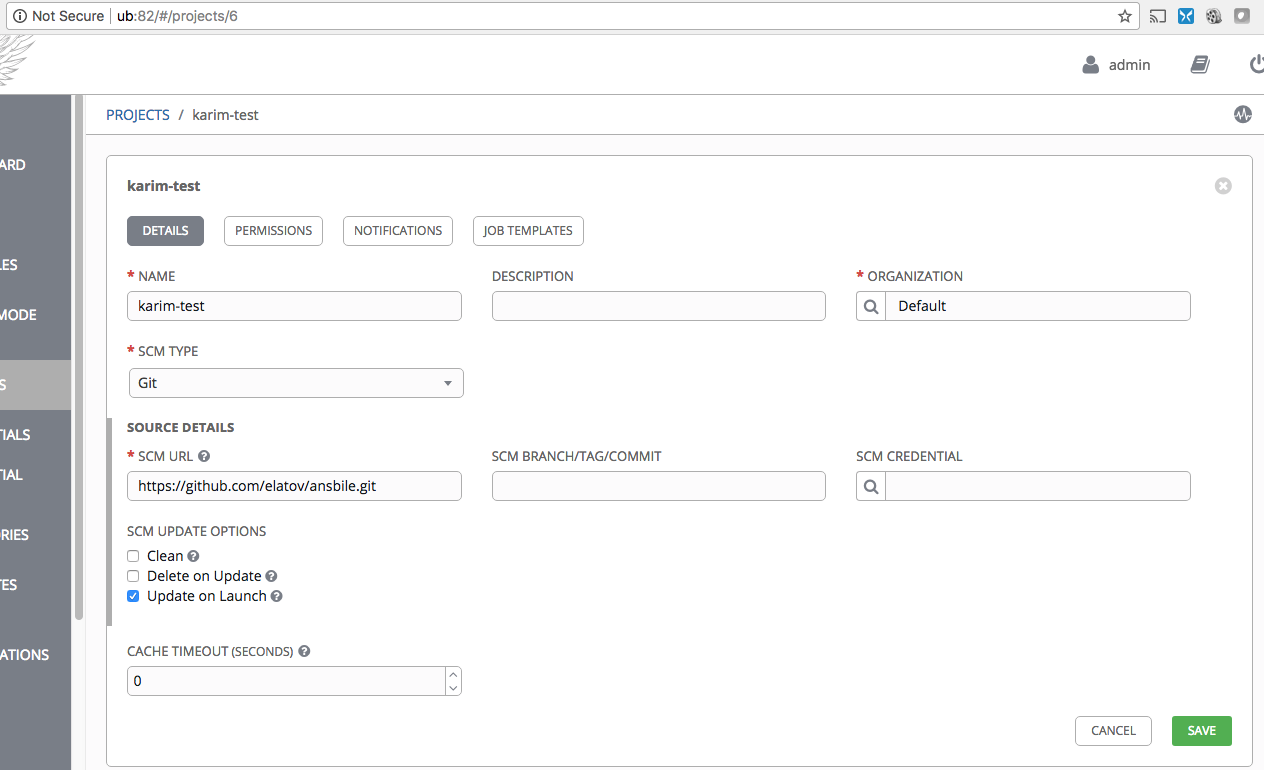
Then create a project (which is covered at the Ansible Tower User Guide - Projects page). When creating a project you can point to a git repo which has all the configs. Here is the sample git repo I started from from. I ended up with the following files:
<git:(master ec76c89) > tree
.
├── inventory
├── playbooks
│   └── hw.yml
└── roles
    └── requirements.yml
Then when adding the project, point to the git repo:
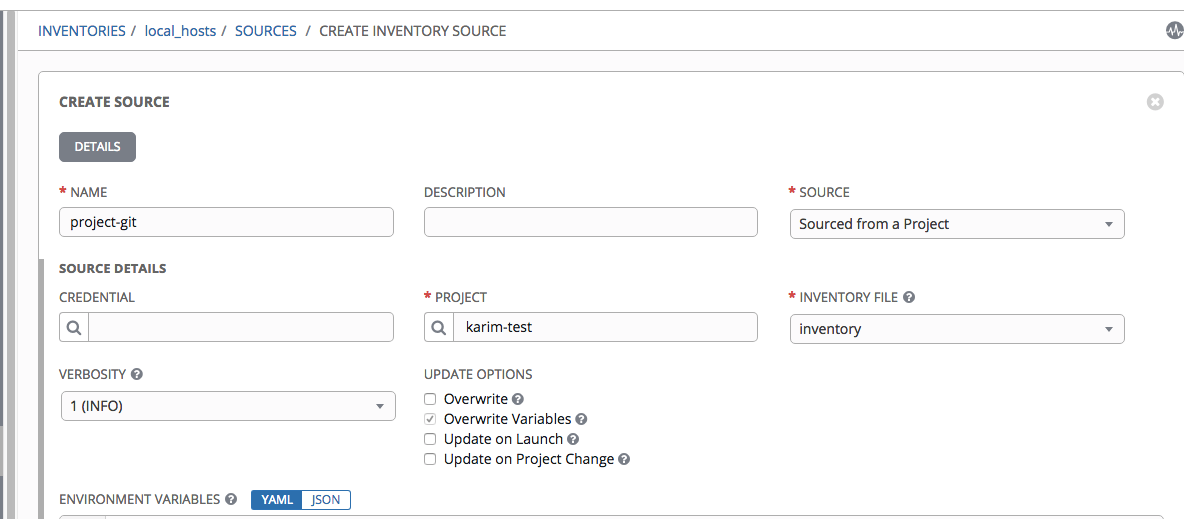
The inventory file contains a list of hosts which the ansible playbooks are run against (more information about inverntories is available at the Ansible Tower User Guide - Inventories page). We adding an inventory file you can reference one from a project (which is why we had one in the sample git repo). So let’s create an inventory and point to the newly created Project’s file:
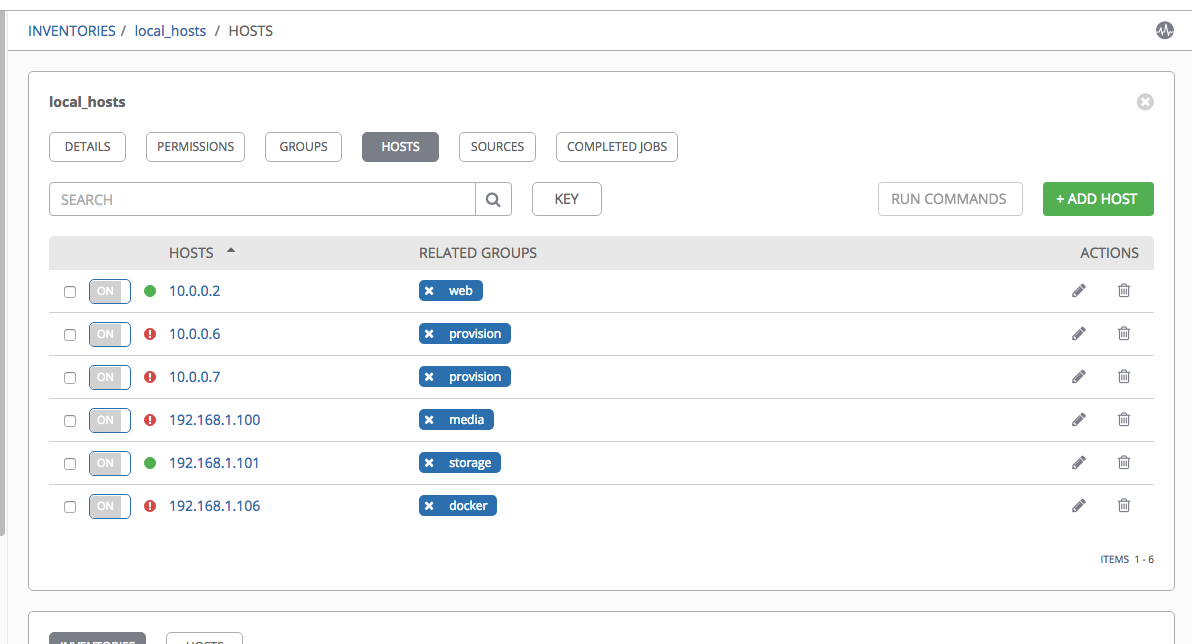
Then if you go to the Hosts tab of the inventory you will see all the hosts read in:
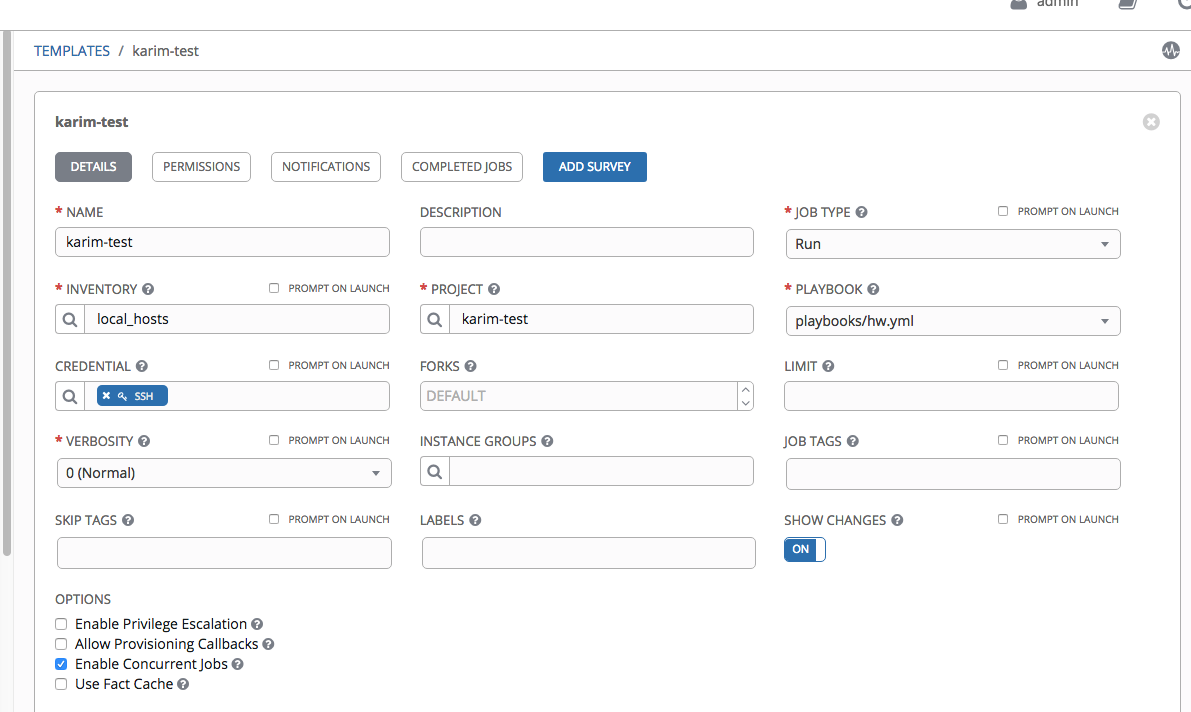
Lastly create a template under Templates and point to:
- Inventory
- Project
- Playbook
- Credential
Then after creating the template, you will see a Launch button:
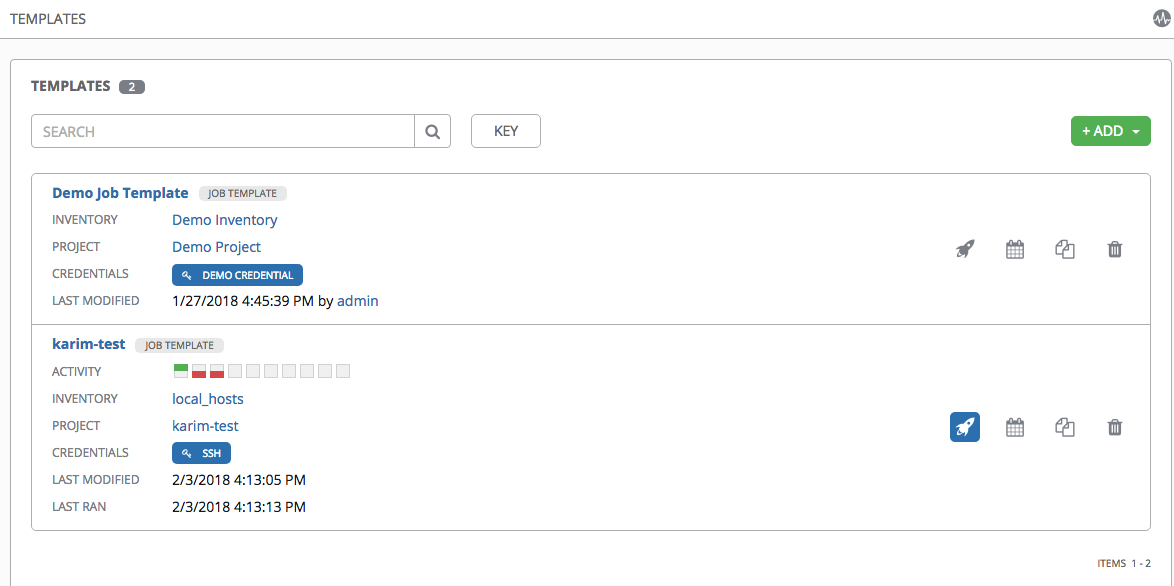
and upon clicking that it will run your play book against your inventory:

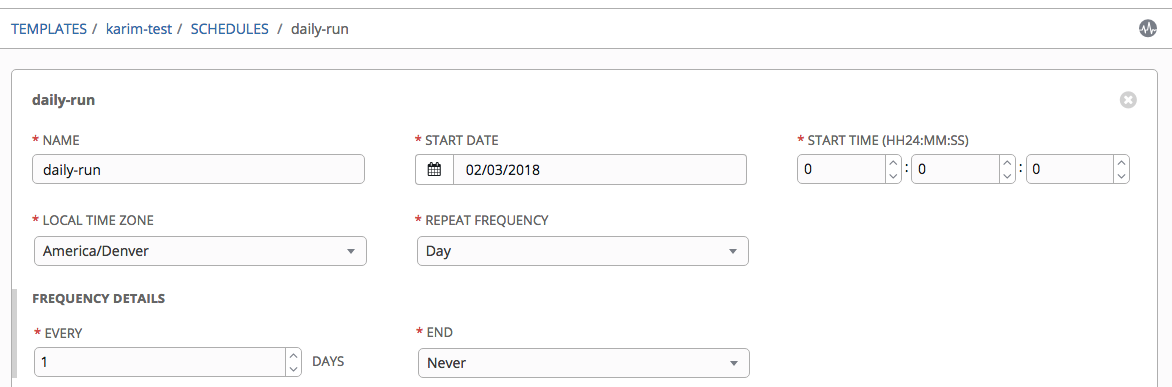
You can also create schedules associated with the template:
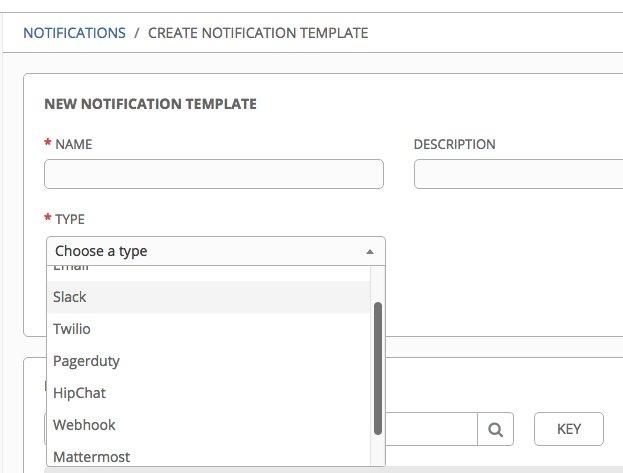
And you have a lot of options for sending notifications:
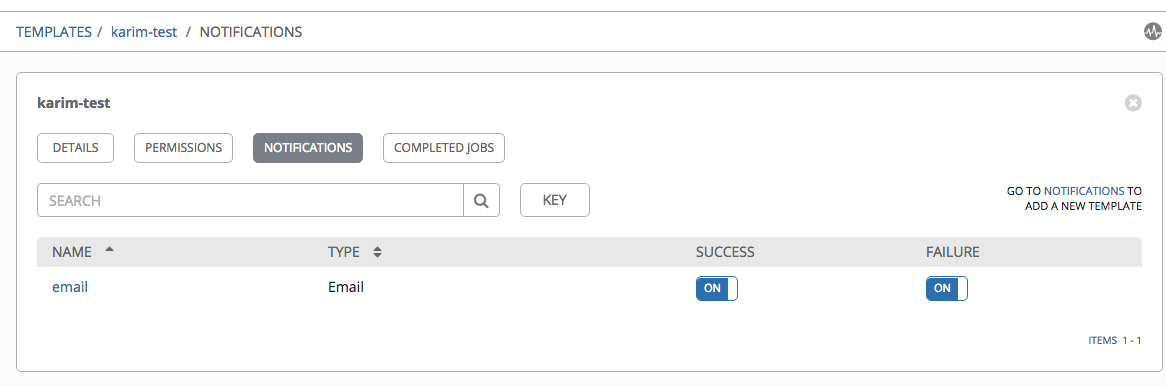
Then after creating a notification you can choose which one to use and for what types of results for a template:
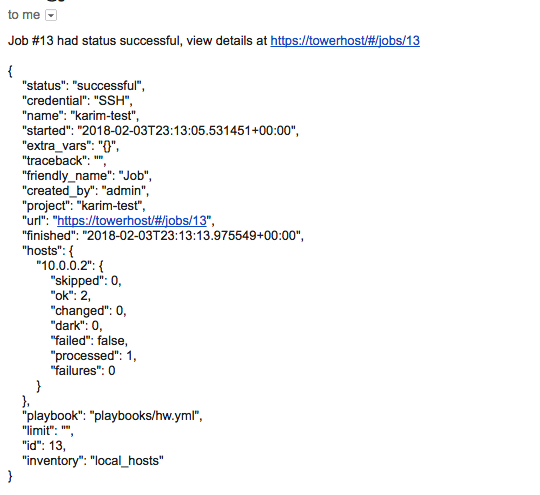
And you will get the following notification when your job succeeds or fails:
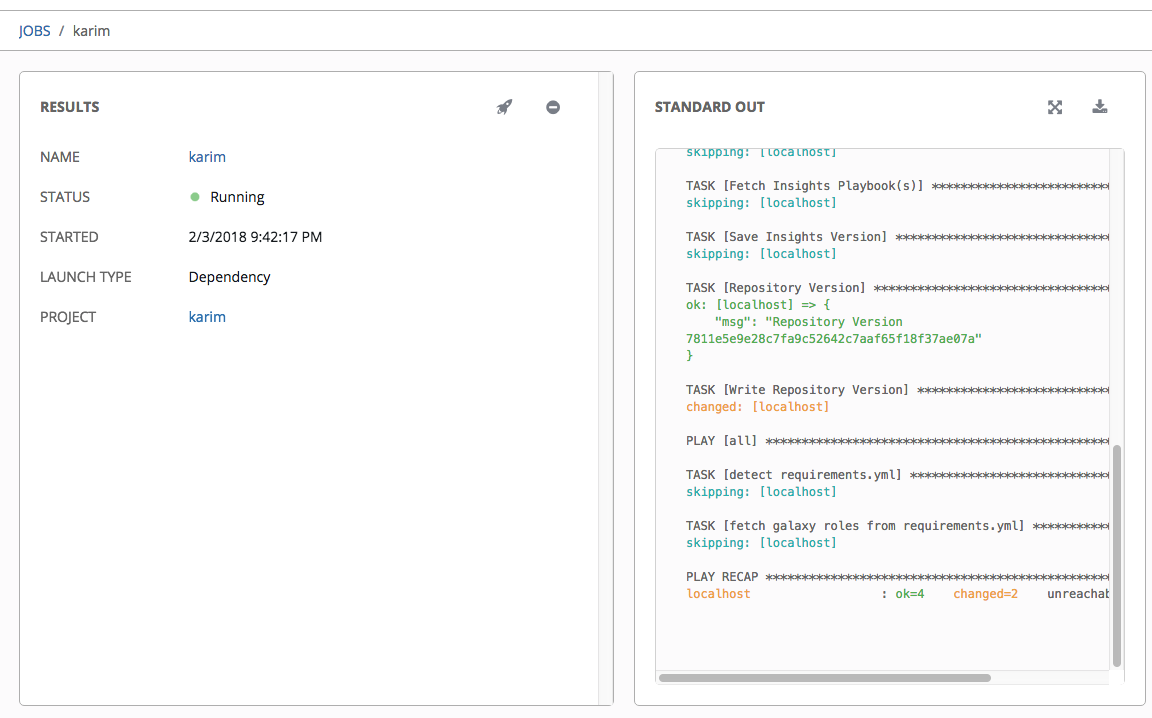
BTW if you want to install any role from galaxy you can follow instructions laid out in Ansible Tower User Guide - Ansible Galaxy Support. And when running a template with specific roles you will see them get intalled:
Using tower-cli
We can also install tower-cli and run the commands remotely. The configuration and installation are covered here:
On my Mac, I ran the following to first install the tower-cli:
<> pip2 install ansible-tower-cli
Successfully built ansible-tower-cli PyYAML
Installing collected packages: click, colorama, PyYAML, ansible-tower-cli
Successfully installed PyYAML-3.12 ansible-tower-cli-3.2.1 click-6.7 colorama-0.3.9
Then configured it:
<> tower-cli config host http://192.168.1.106:82
<> tower-cli config username admin
<> tower-cli config password password
<> tower-cli config verify_ssl false
Lastly to make sure it works, I queried the template list:
<> tower-cli job_template list
== ================= ========= ======= ================
id       name        inventory project     playbook
== ================= ========= ======= ================
 5 Demo Job Template         1       4 hello_world.yml
 8 karim-test                3       6 playbooks/hw.yml
== ================= ========= ======= ================
You can even run a job and monitor it:
<> tower-cli job launch -J 8 --monitor
------Starting Standard Out Stream------
Identity added: /tmp/awx_20_REewdT/credential_2 (/tmp/awx_20_REewdT/credential_2)

PLAY [Hello World Sample] ******************************************************


TASK [Gathering Facts] *********************************************************
ok: [10.0.0.2]

TASK [Hello Message] ***********************************************************
ok: [10.0.0.2] => {
    "msg": "Hello World!"
}

PLAY RECAP *********************************************************************
10.0.0.2                   : ok=2    changed=0    unreachable=0    failed=0

------End of Standard Out Stream--------
Resource changed.
== ============ =========================== ========== =======
id job_template           created             status   elapsed
== ============ =========================== ========== =======
20            8 2018-02-03T23:38:09.129636Z successful 8.521
== ============ =========================== ========== =======
Pretty cool stuff.