Using G-Suite Enterpise to Configure a Chromebook as a Kiosk Machine
G-Suite Enteprise Chrome Management
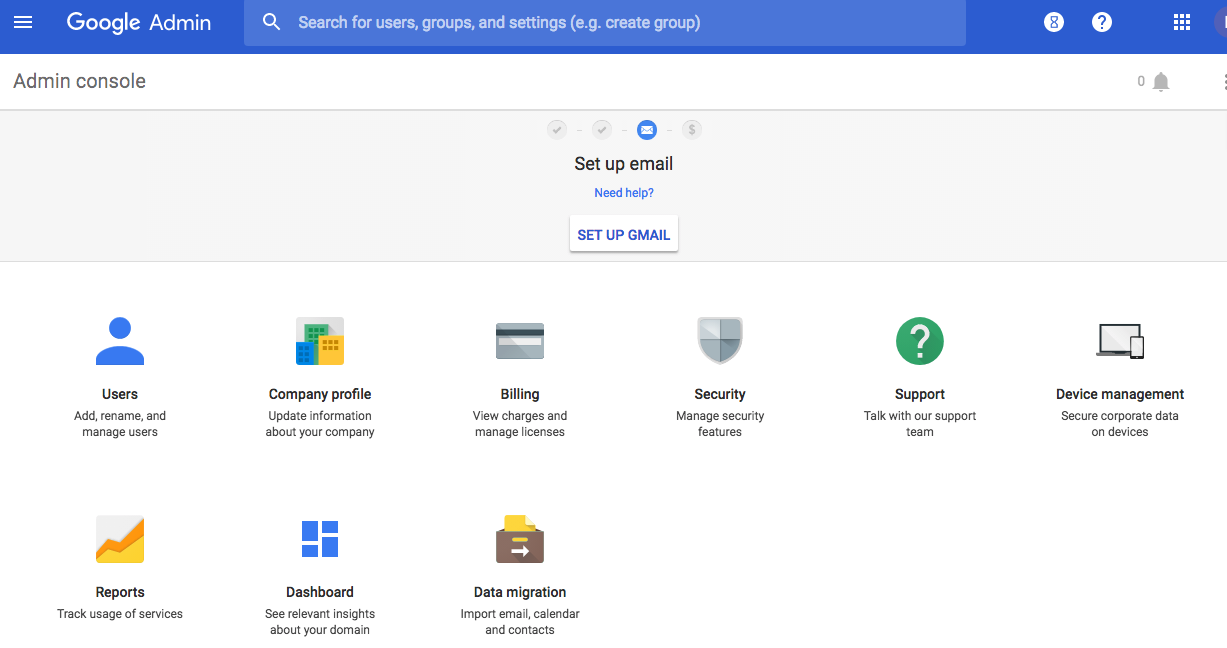
With G-Suite Enterprise you can turn a Chromebook into a kiosk machine. You can sign up for a trial (more information at About your free G Suite trial). After you signed up, login to the admin console (admin.google.com) and you will see all the settings available for your organization:
If you go to Device Management, you will see already registered devices and more options:
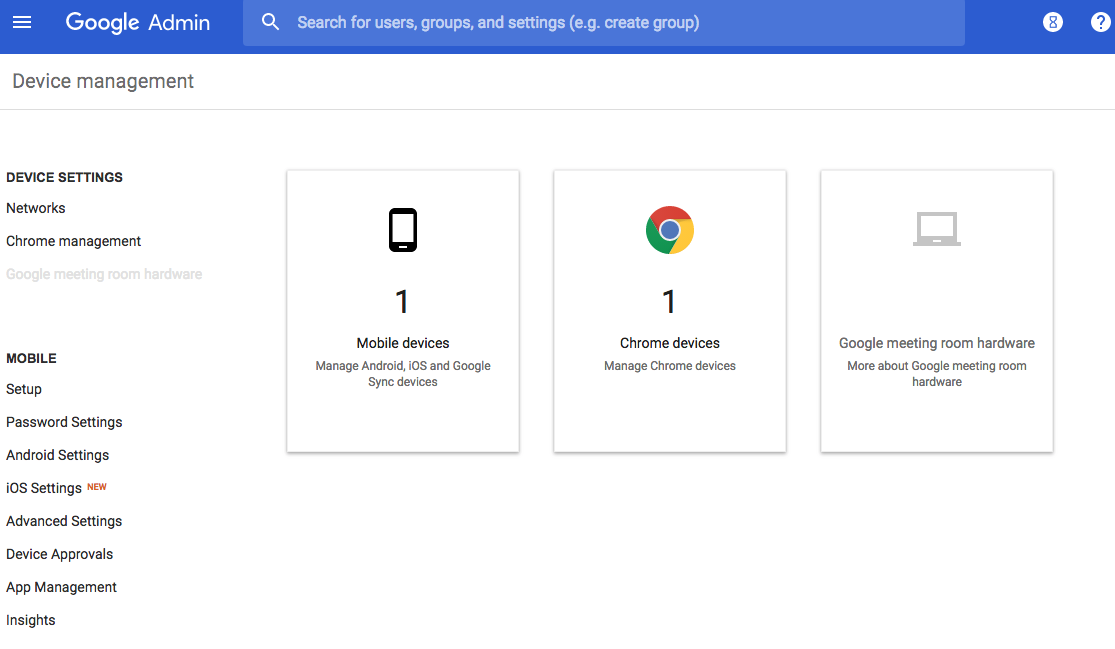
You can also click on Chrome Management and configure the chrome browser settings at multiple levels.
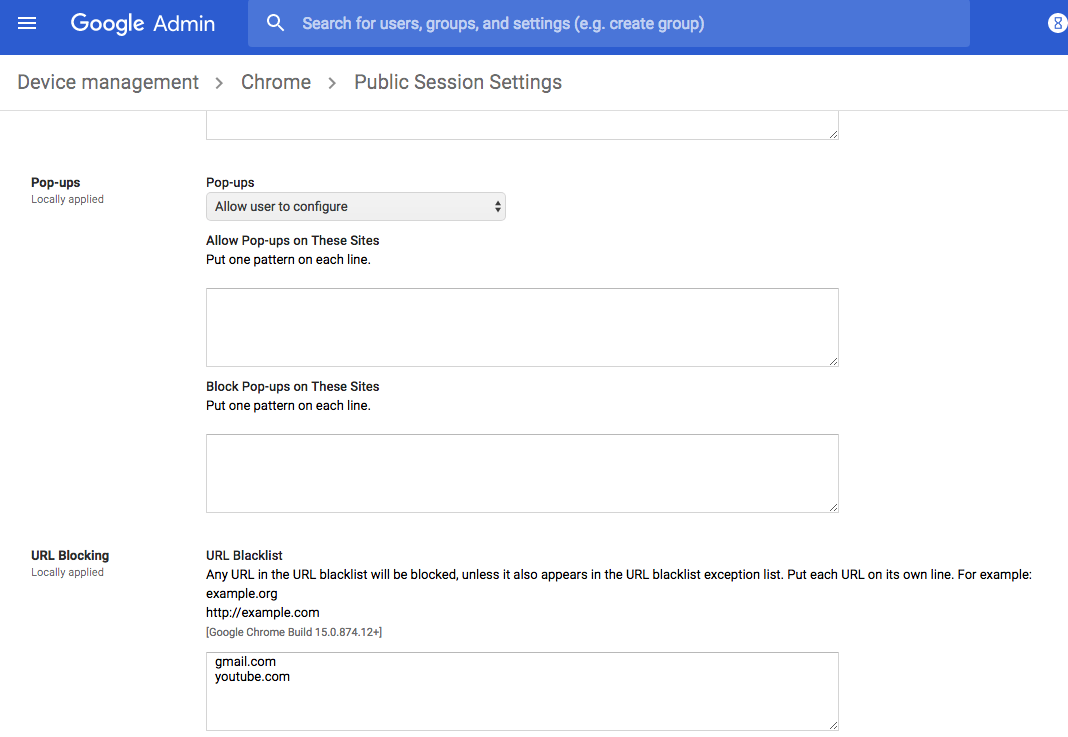
Creating a Publish Session
To start off, I modified the Public Session Settings and blocked some URLs:
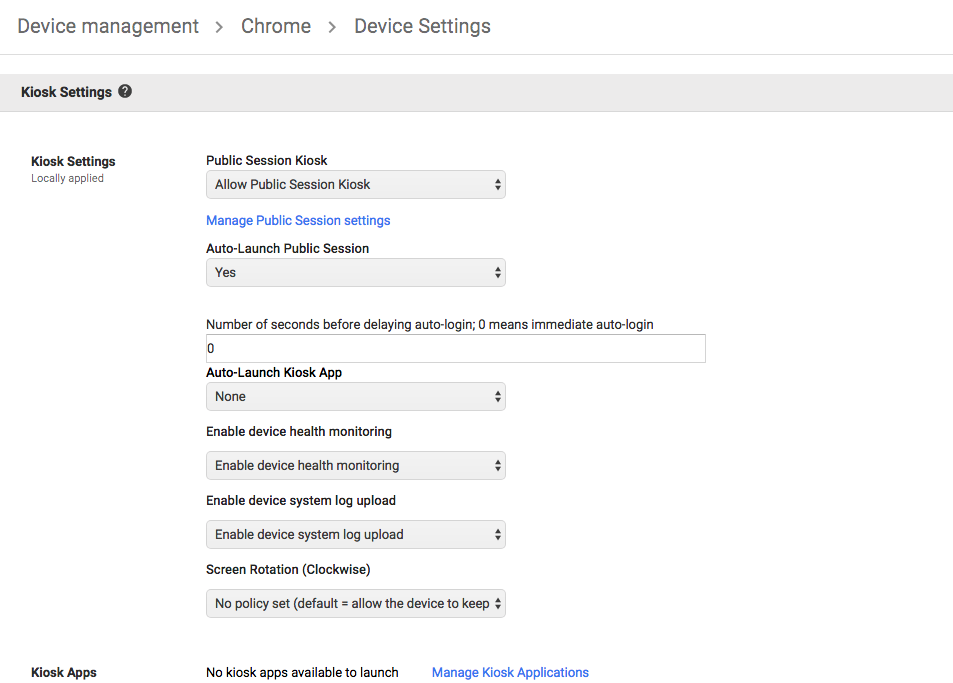
Next, under the Device Settings, I pointed to my public session that I created before:
Enrolling your Chromebook
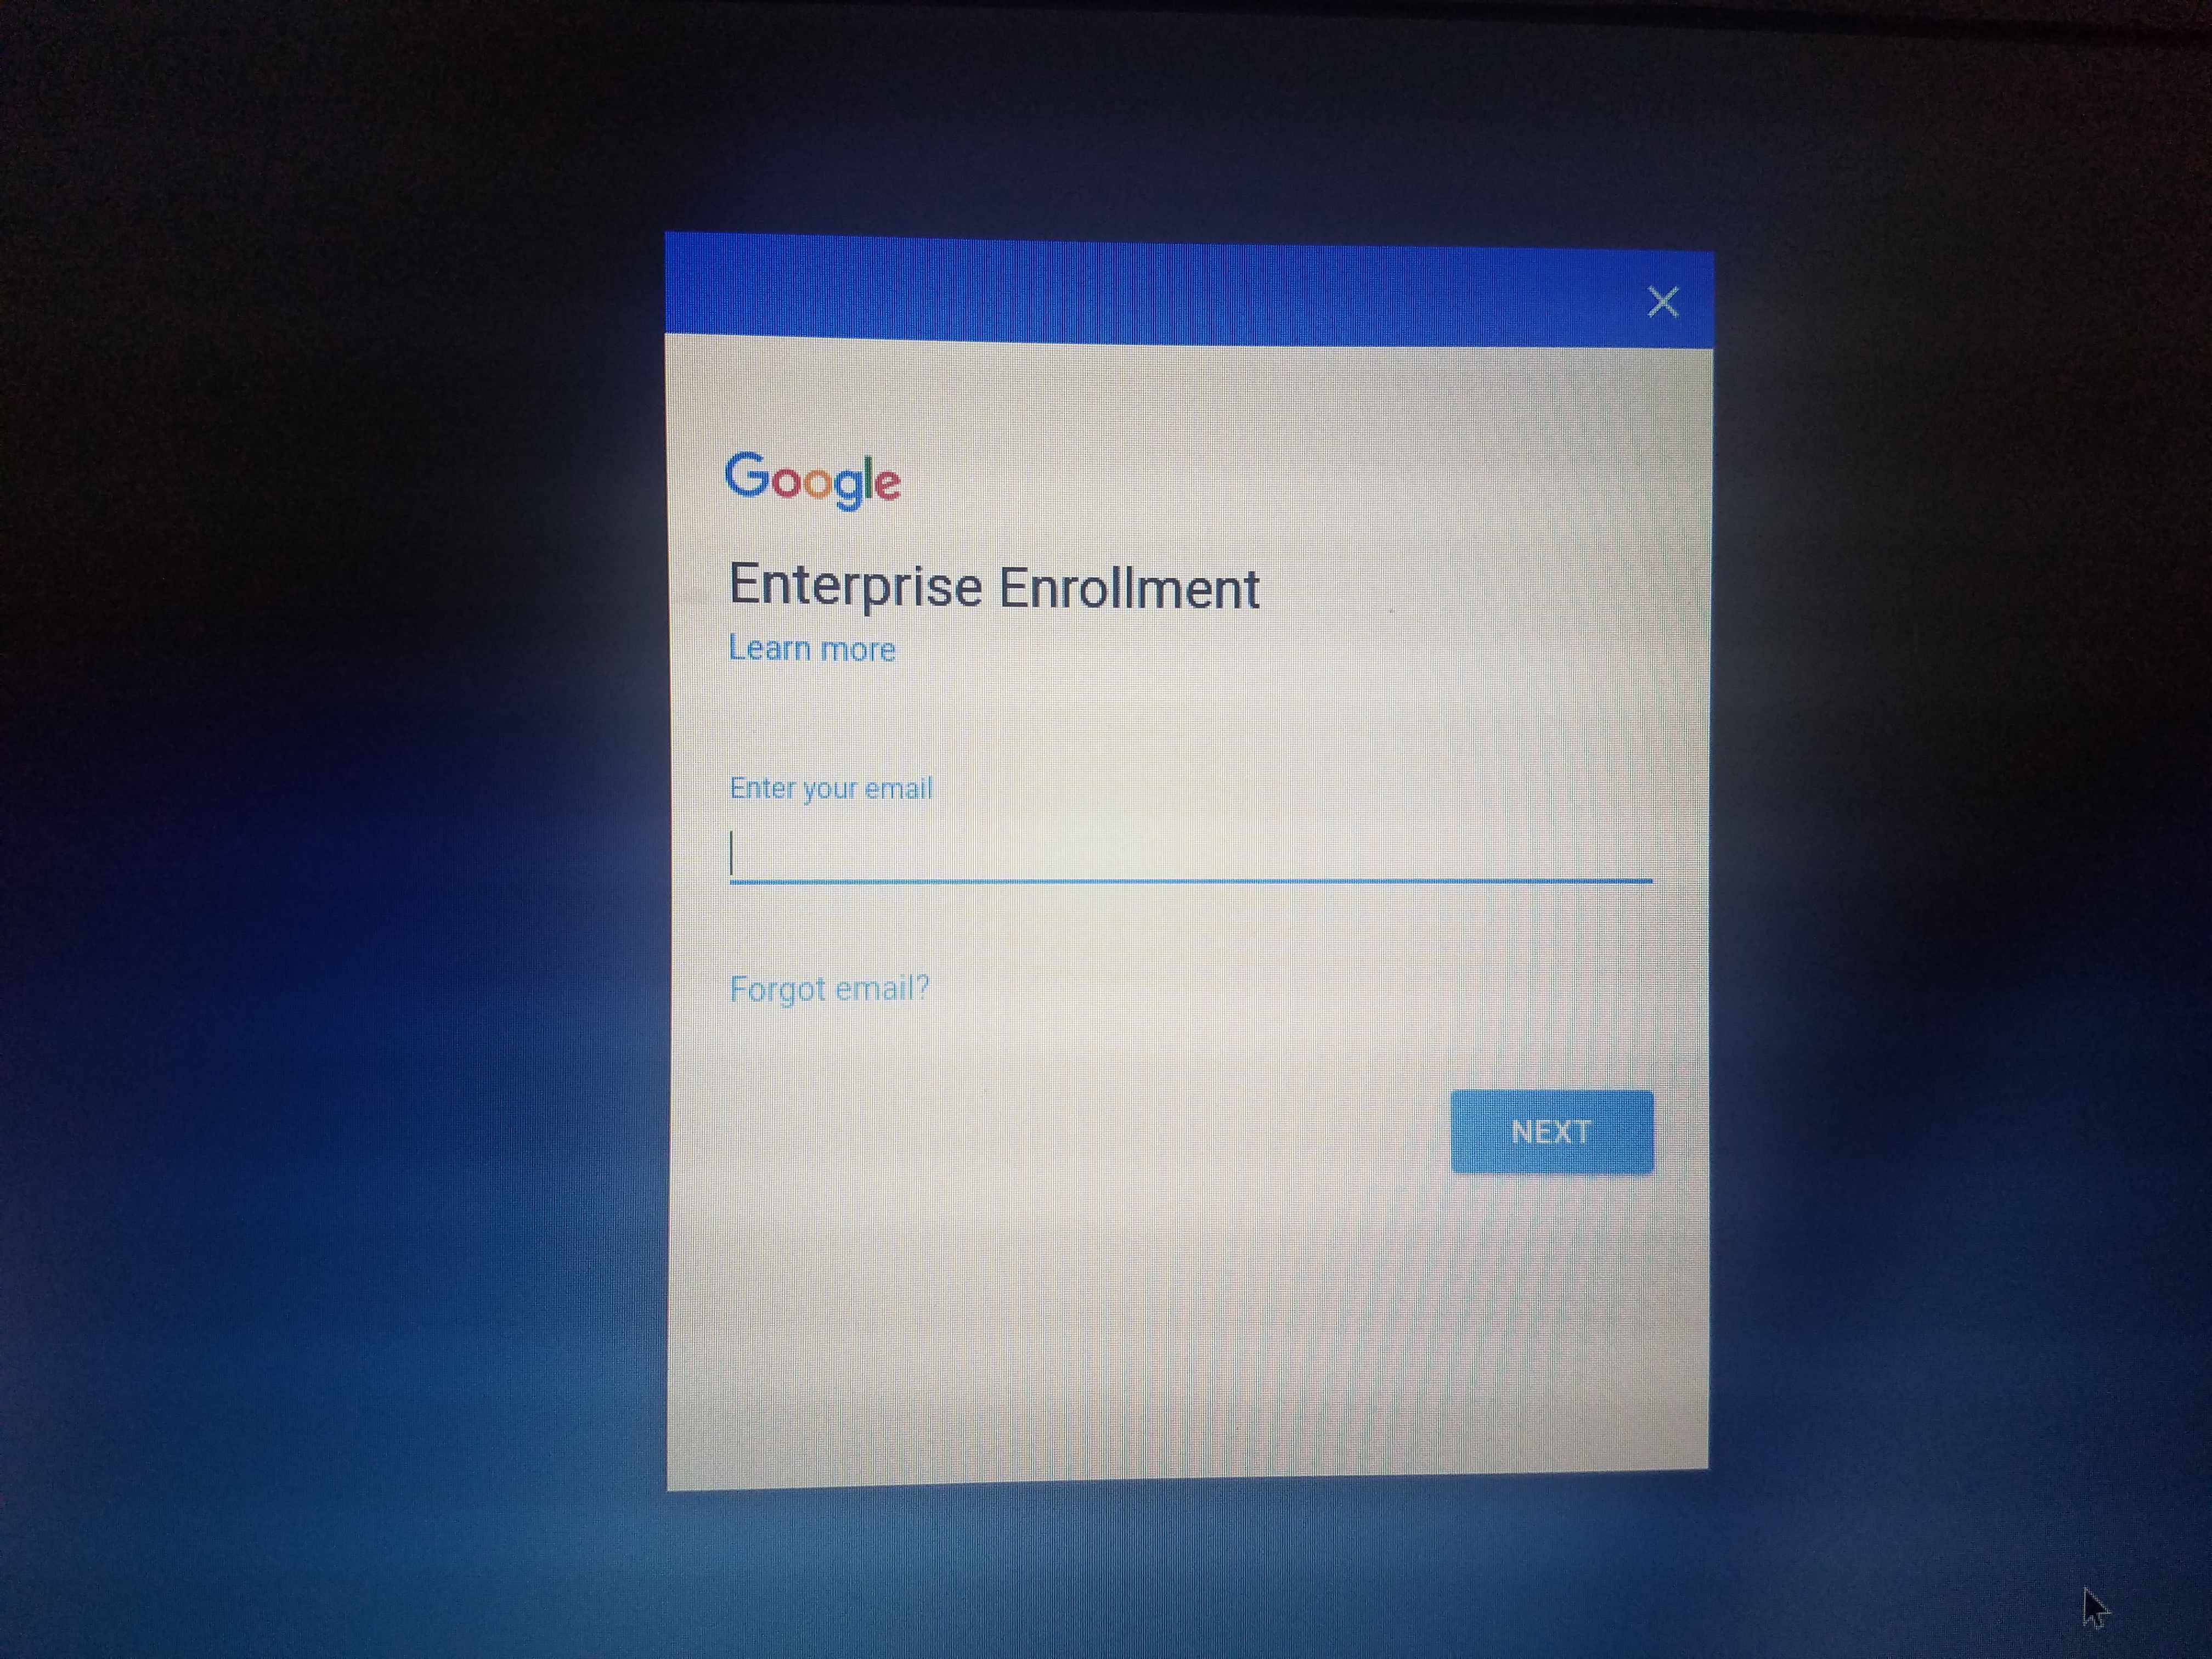
Now on a brand new chromebook, you can follow Enroll Chrome devices instructions to enroll the device. Initially the login screen looks like this:

Then after clicking Ctrl-Alt-E, you will see the Enterprise login:
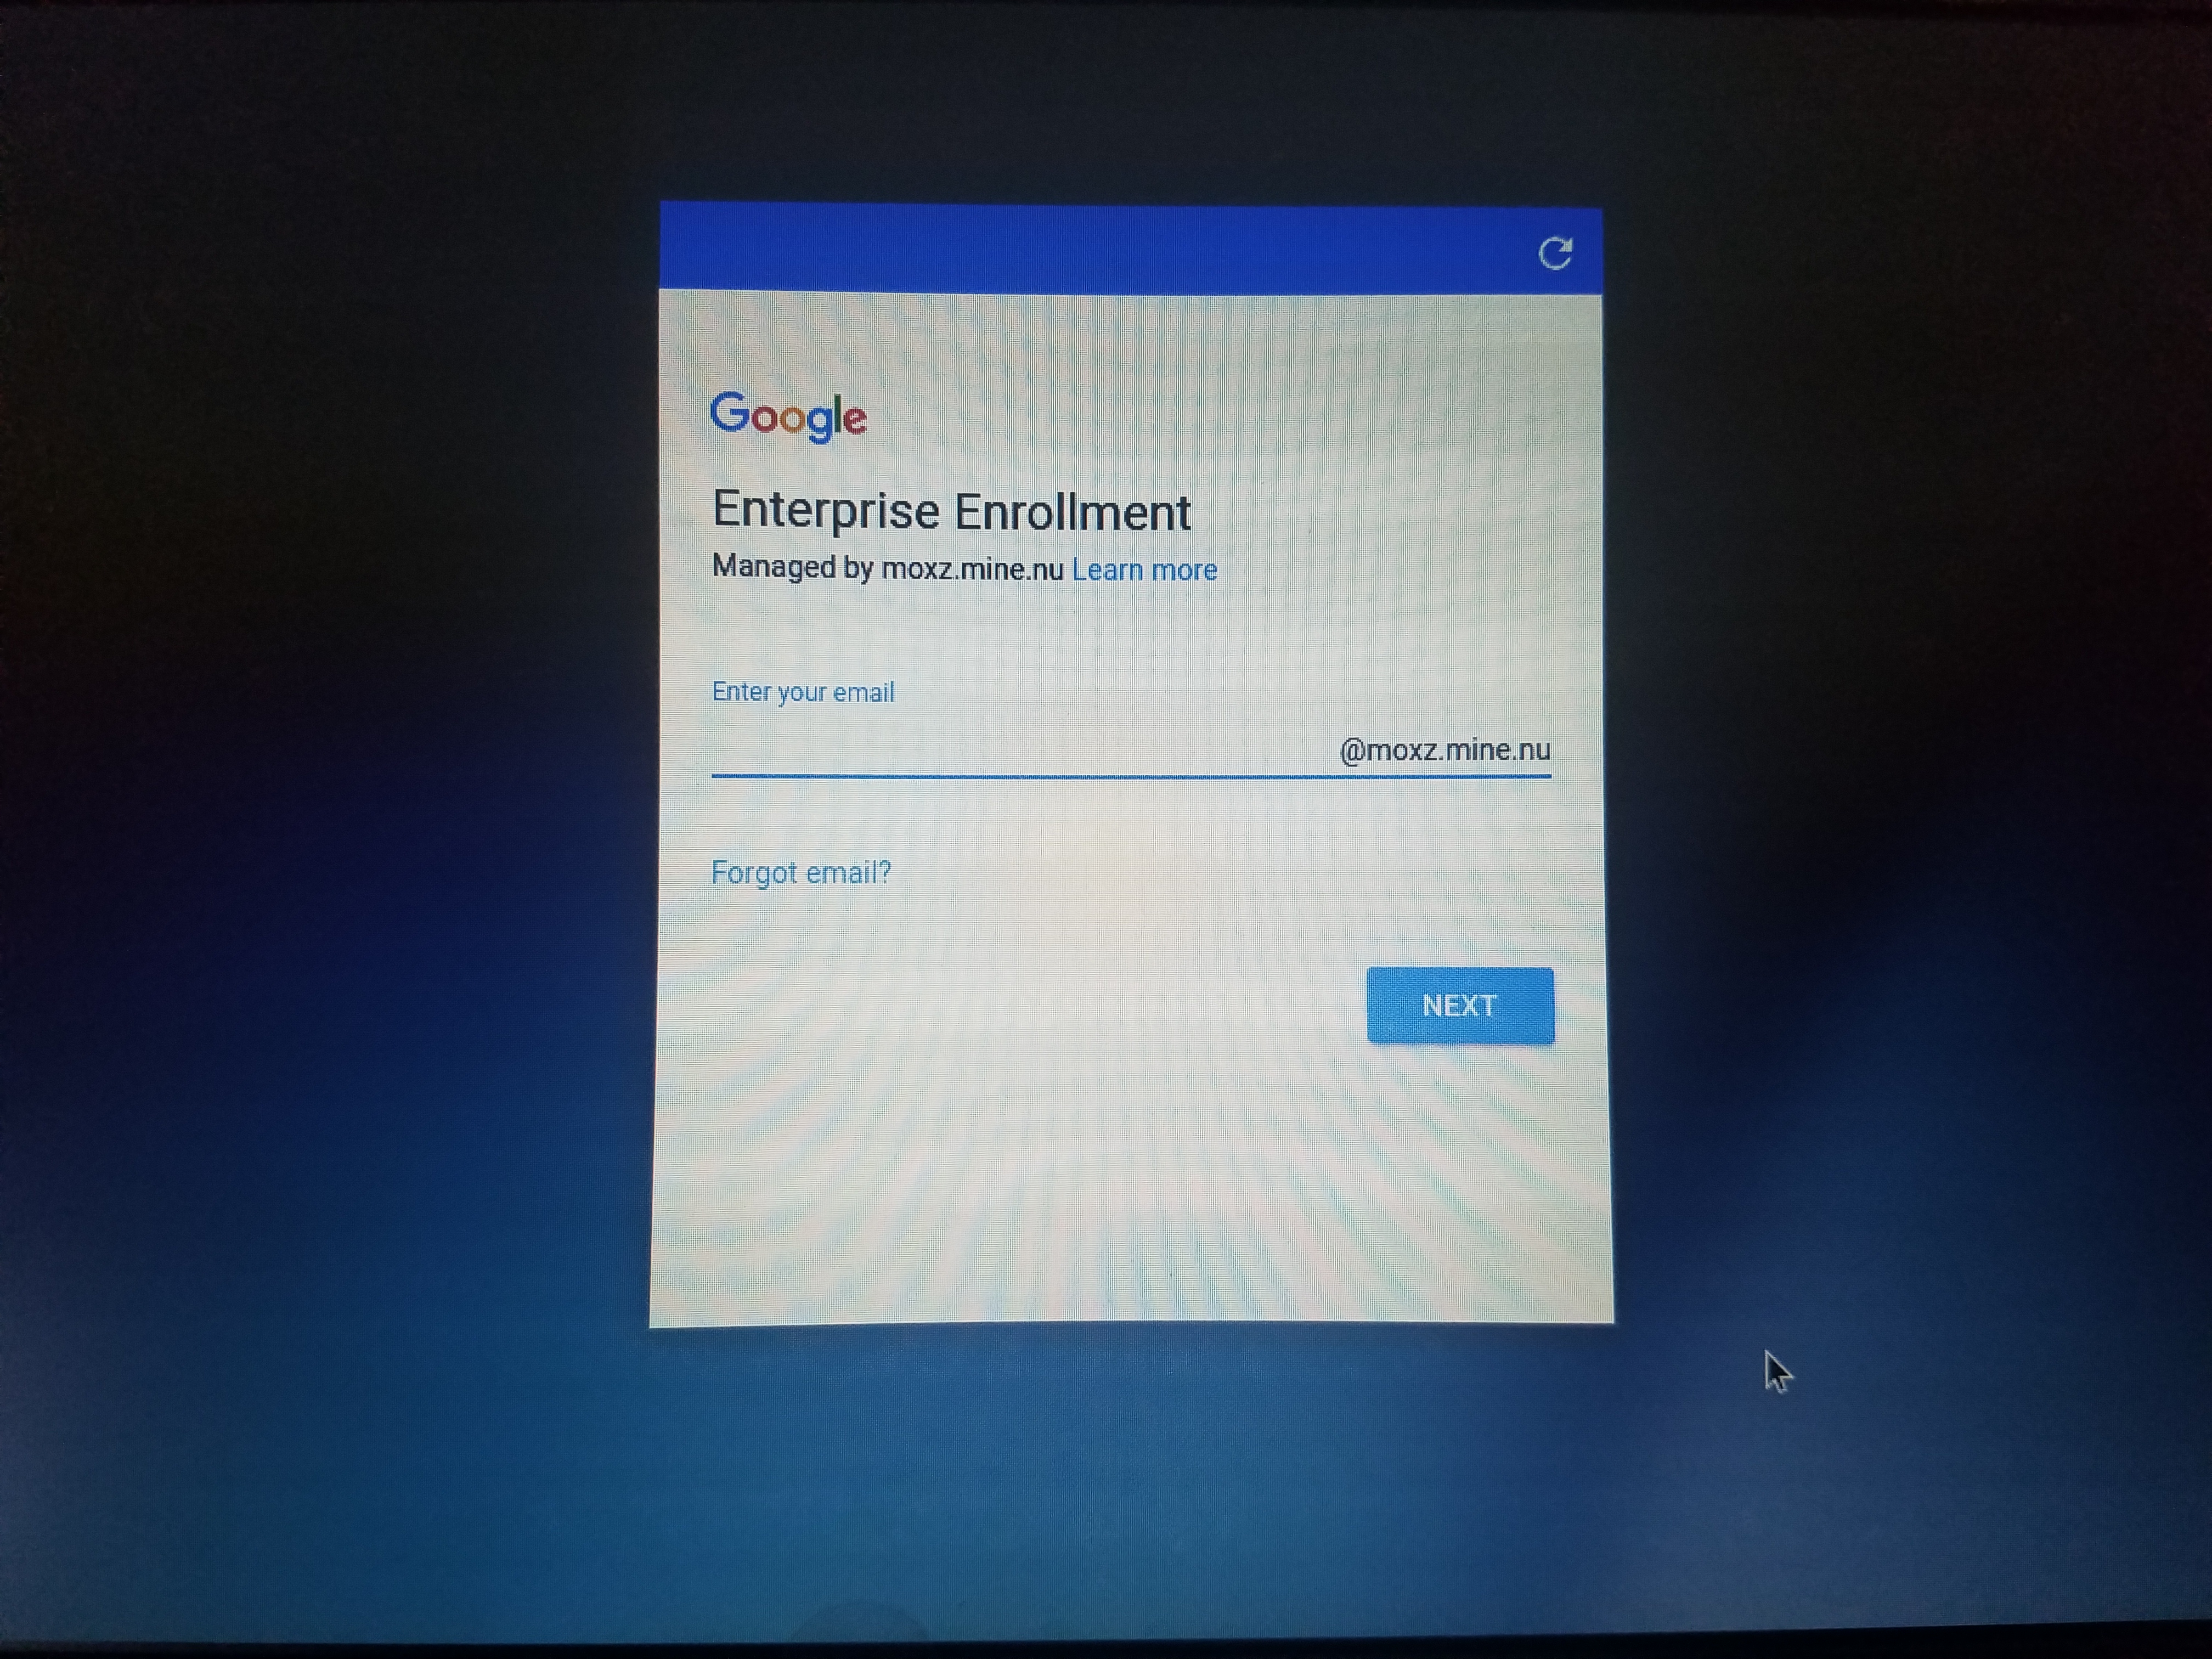
Also if the chromebook had initially been entrolled to g-suite enterprise and the Force Re-Enroll Option is enabled, then right after booting up the chromebook you will see the Enterprise Enrollment Login with the domain specified:
After a successful enrollment it will automatically start to login into the Public Session:

At which point you will see the following screen (Notice it will have an Exit Session on the bottom right:

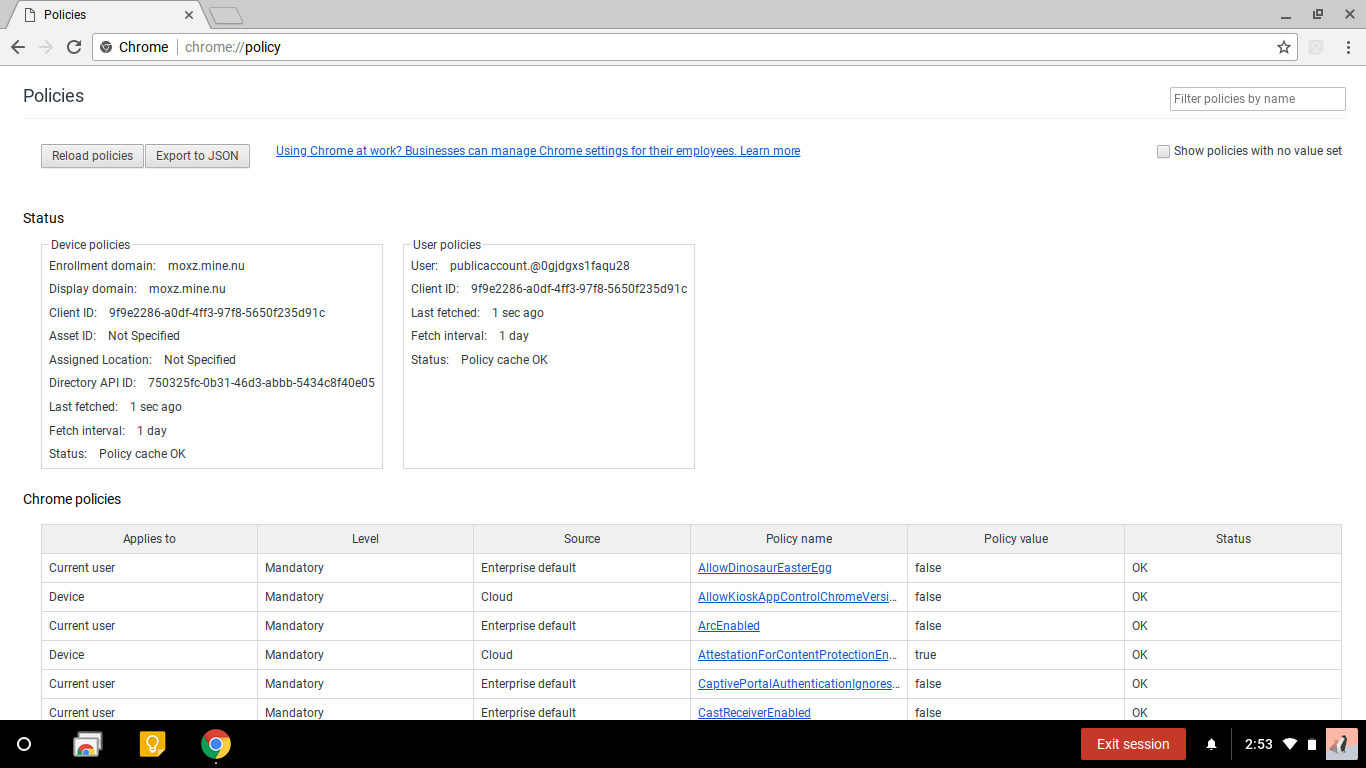
Confirm Chromebook is Enrolled into Enterprise Management
To confirm all the policies have been pushed to the device, you can point the chrome browser to chrome://policy and you will see all the settings:
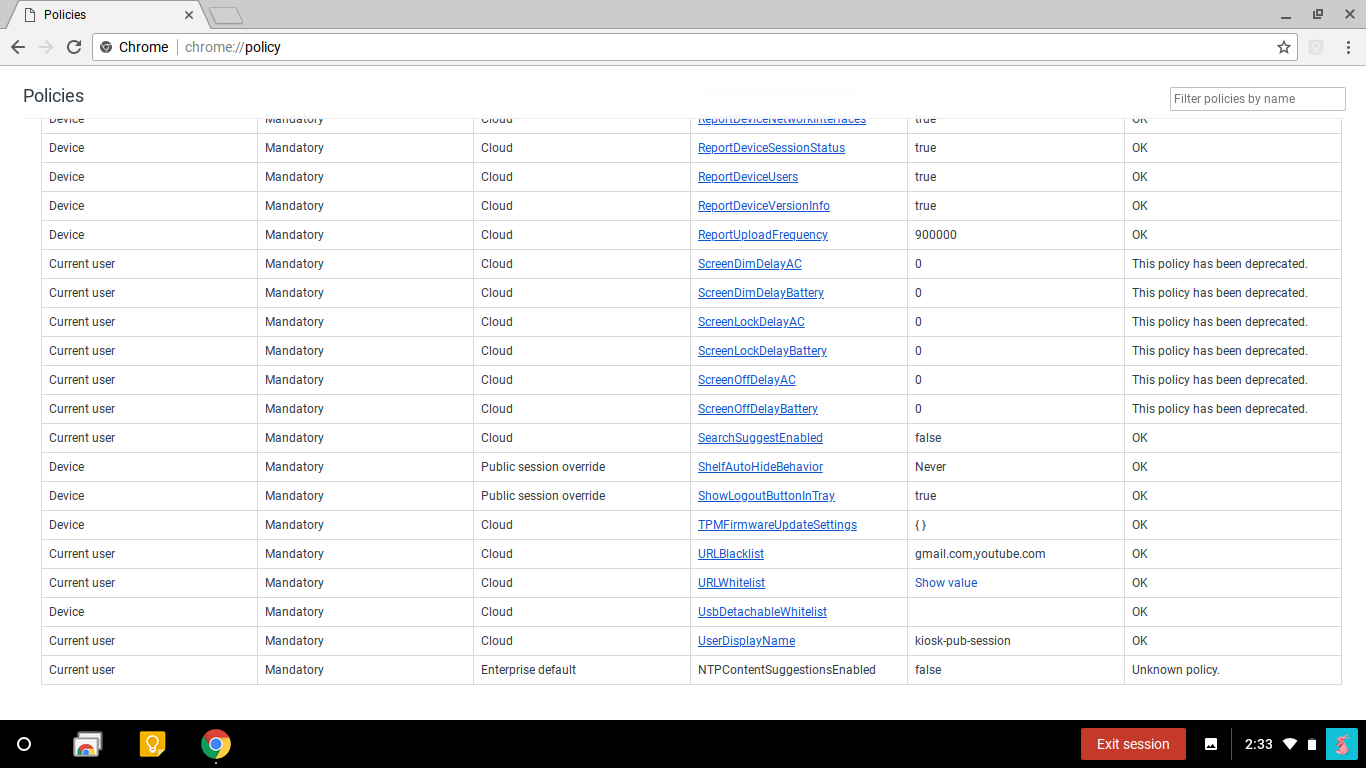
You can also scroll down and check out the URLBlacklist policy:
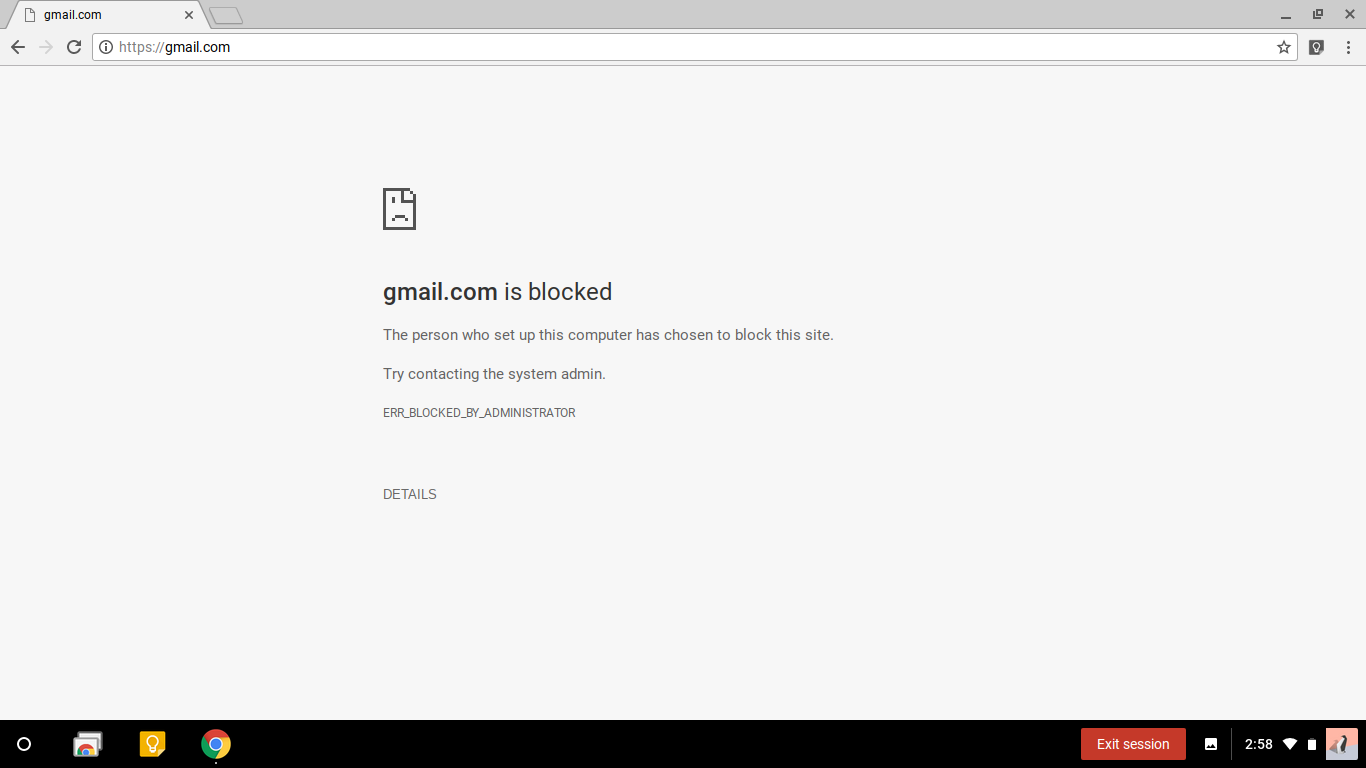
You can also try to visit a blocked url and you will see the following:
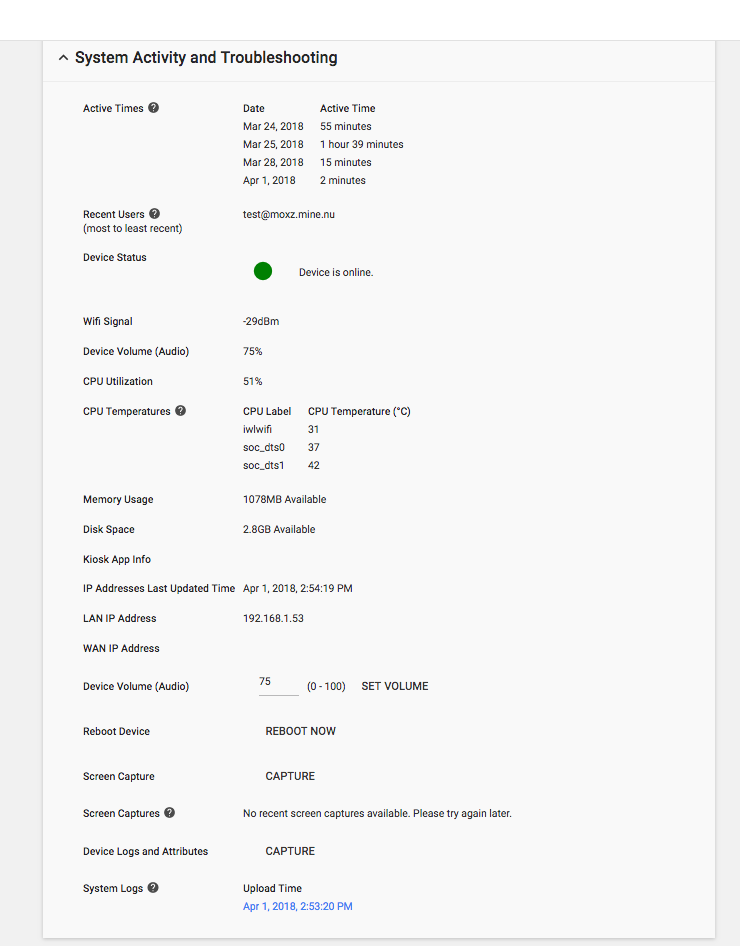
If you go back to the Admin Console, under Device Management -> Chrome Device -> Your Device -> System Activity and Troubleshooting, you can see the status of the device. You can also grab logs and reboot it (pretty handy):
Pushing SSL Certs to Chromebook
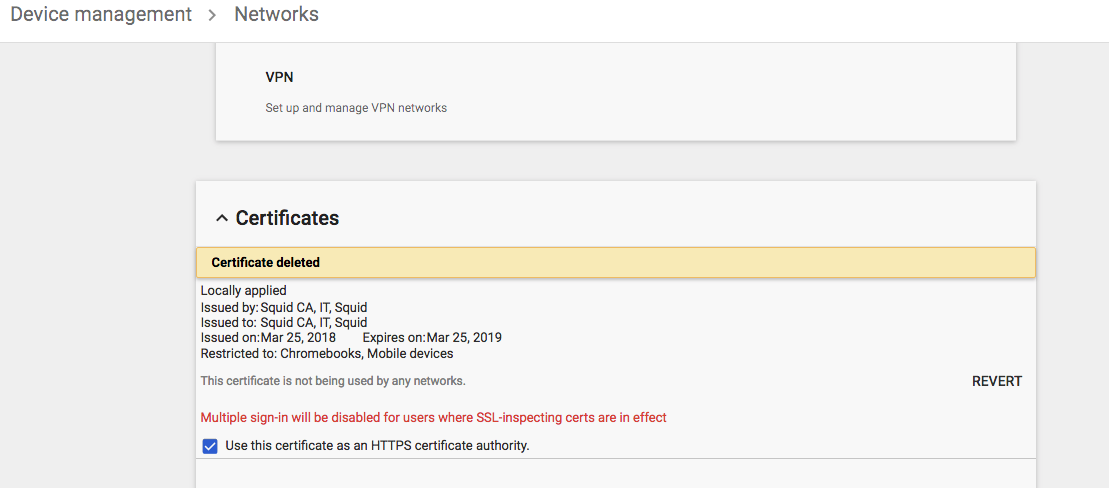
You can also push certificates to the chrome devices (most of the instructions are at Set up SSL inspection on Chrome devices). This can come in handy, if you are using a Proxy to perform URL filtering. Under Device management -> Network -> Certificates you can import your Proxy CA cert:
And if the device is on a trusted network it will push the cert to it.
User Sessions With Chrome Management
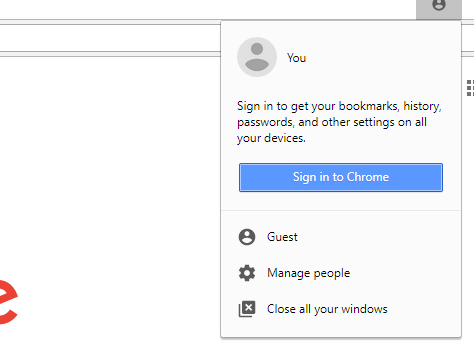
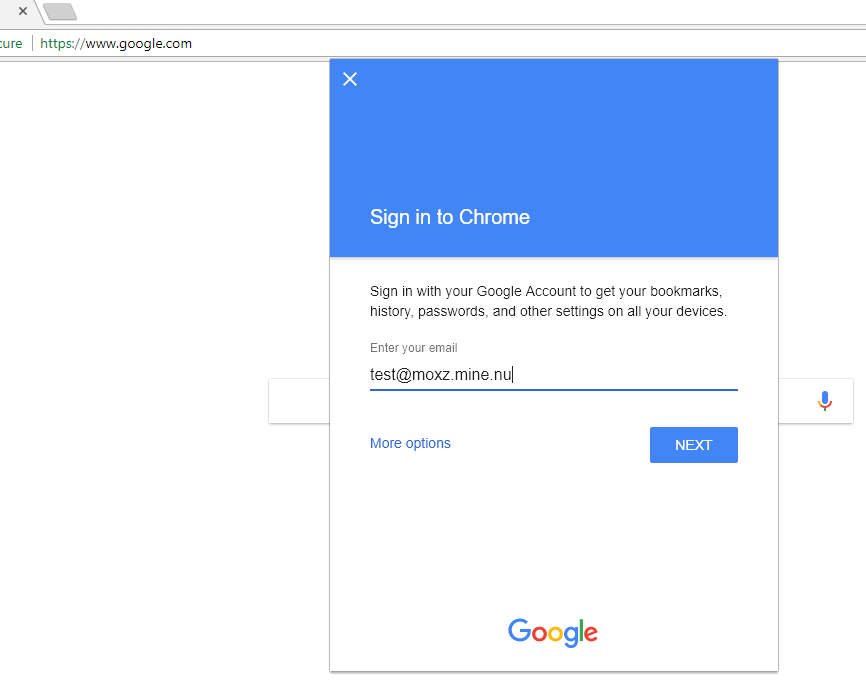
On top of device management, you can also configure User Session settings. These are settings that are pushed to the chrome browser when a user logs to chrome on any device. So on any browser click on the login button for your profile:
And then login to your managed domain:
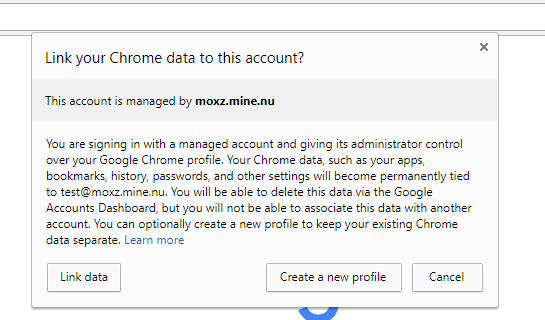
And then you can create a brand new profile:
And you can confirm that chrome instance is managed by an g-suite enterprise, by checking out chrome://policy:
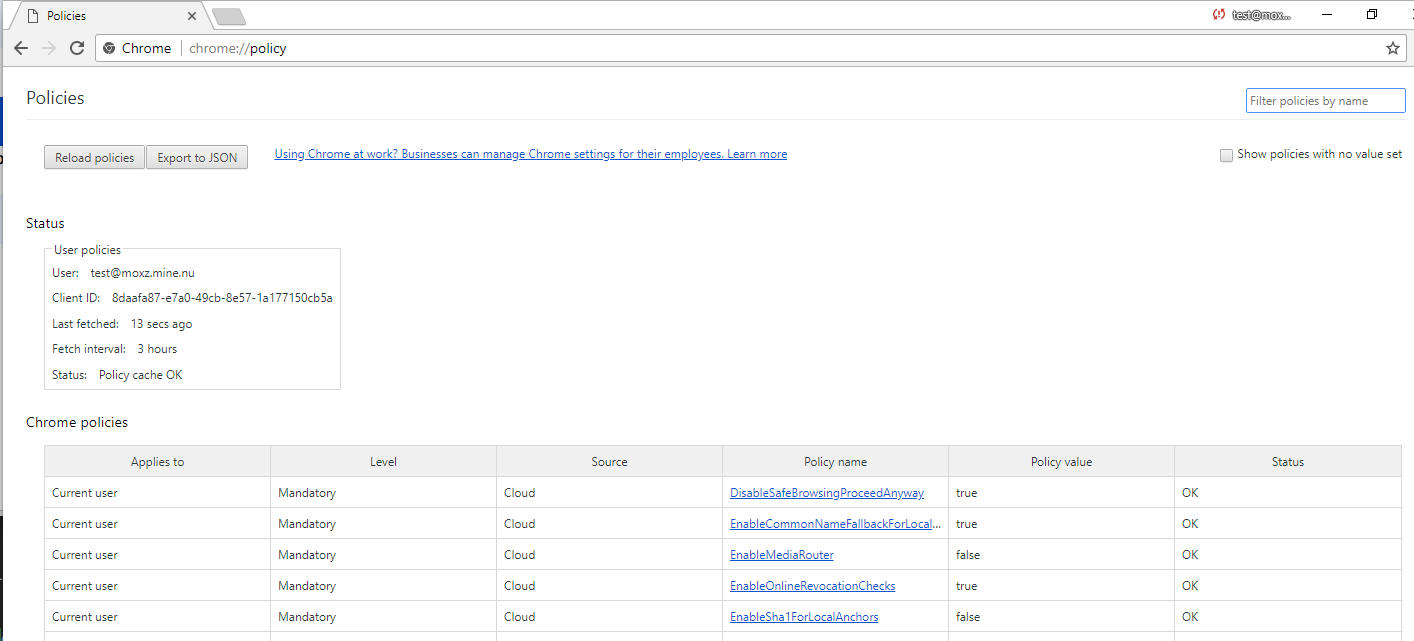
Same thing happens here, any browser setting that you modified in the User Session settings will be pushed to this chrome browser.
Resetting Chromebook to Factory Settings
If you get stuck an any point you can reset the chromebook to factory settings by following the instructions laid out in Reset your Chromebook to factory settings or in Wipe device data